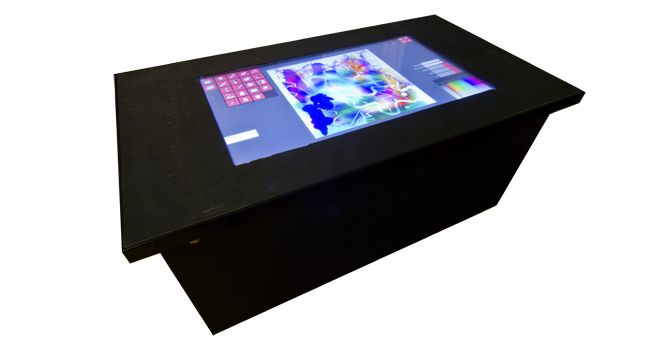
Well its been a while since I posted an update on my DSI coffee table. It is pretty much complete now. The last thing I have to do is get a piece of scratch resistant plexiglas for the table top to create a single seamless top. I would also like to get black perspex for the sides so the table has a piano black finish, but this is a maybe in the future. The reason I have been holding off with the final top piece is because I am still experimenting with different lighting so blobs can be detected through the extra layer of plastic. Currently I am waiting on a second PS3 Eye camera so I can try a two camera setup to hopefully get clearer and less distorted images for tracking.
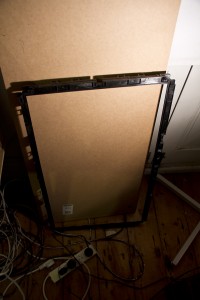
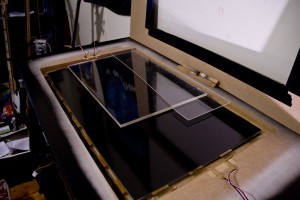
Originally I was using the original black plastic frame from the TV to hold the LCD in place, but this didn’t provide enough support in the centre of the screen so I had to replace the frame with a sheet of 3mm and 10mm clear plexiglas to match the height.
The original black plastic frame which held the LCD:
Measuring how thick the new support would need to be. It turned out that 10mm + 3mm would be perfect:
Recently I decided to replace my hand soldered LED strips with some LED strip lighting from Environmental Lights. Below is a few images from the process. I had to drill some new aluminium channels to create a system that would hold the LED strips while being no thick than 10mm. The reason being that they could not protrude any higher than the Endlighten, otherwise I couldn’t have a level seamless top.
I ended up joining two U-channels back to back and sandwiching the strips in between. This way the strips could adhere to the back of one and shine through holes drilled in the back of the other, channelling the IR light into the Endlighten.
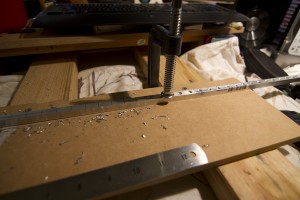
Drilling holes in new aluminium U-Channel:
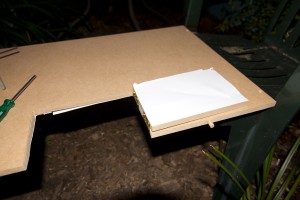
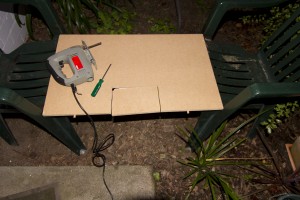
One more thing I had been putting off was adding an access door in the side for the camera. Since the table was assembled I didn’t want to pull it apart again, but I finally bit the bullet and dismantled the table and cut an access door.
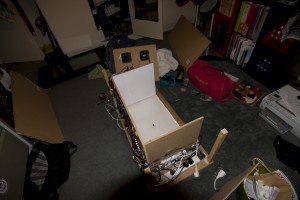
The table pulled to bits:
Cutting an access door:
That’s all for now. I will hopefully post some more photos of my LED set up next time but right now I don’t have any.

You must be logged in to post a comment.